Sunday, 12 February 2012

waterworks

The shower has now been sealed, all thats left to do is attach the shower head, and connect it to the mixer tap, i bought it online and it has a microswitch in it, its specially designed for motorhomes and cost about £35, the shower head kit i got in wilkinsons for £7

 Micro switched mixer tap
 rear of the micro switched mixer tap
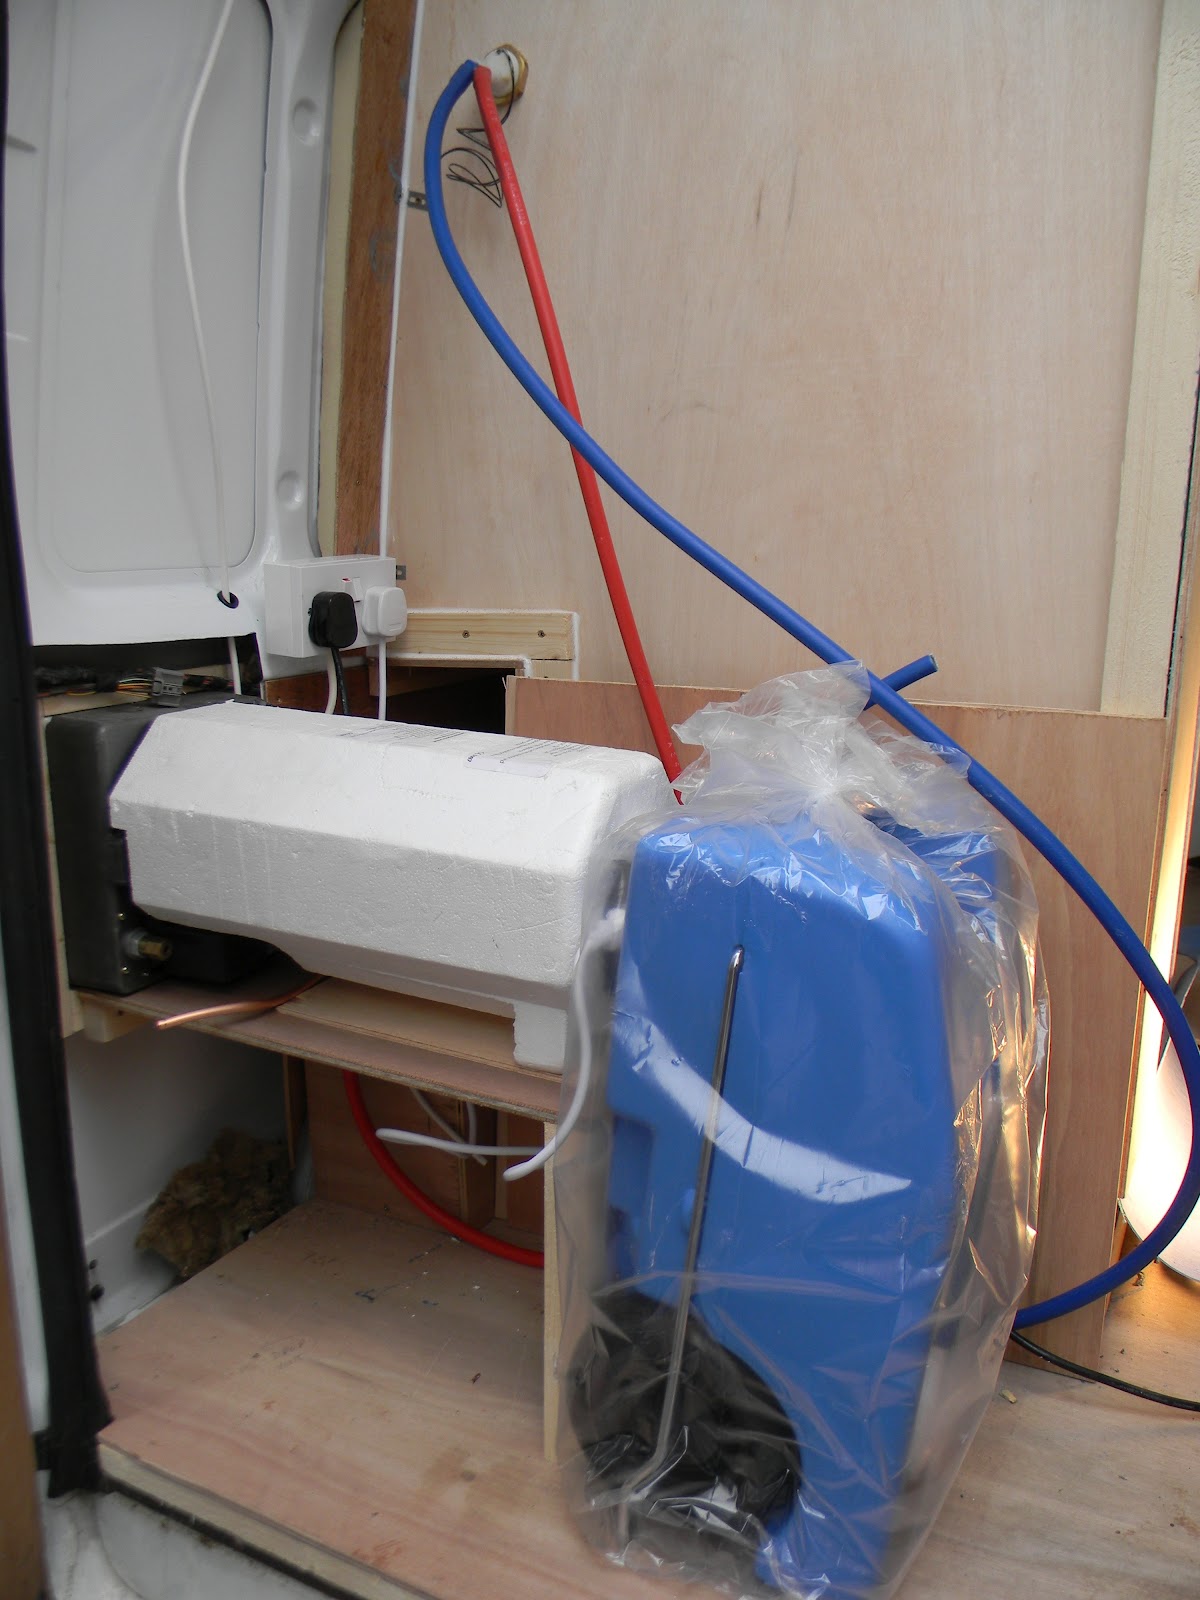
so as mentioned before we decided two have two seperate water tank, one for the sink and one for the shower/water heater, there were a few reasons for this, firstly the sink and shower are on opposite sides of the van, having two tanks will spread the weight evenly. we won't have to run any pipes underneath the floor, and if we need hot water for washing up we can just boil a kettle i didnt see the point in firing up the water heater fto to the washing up its a waste of gas to heat 9 litres when we will probably only be using 2 or 3.

fiamma 21litre roller water tank, will be boxed in and should lay underneath the water heater, i have a shurflo water pump for use with this.
 the 20 litre water tank underneath the sink, i have bought a small whale submersable pump for use with this one, the sink tap also has a microswitch in it
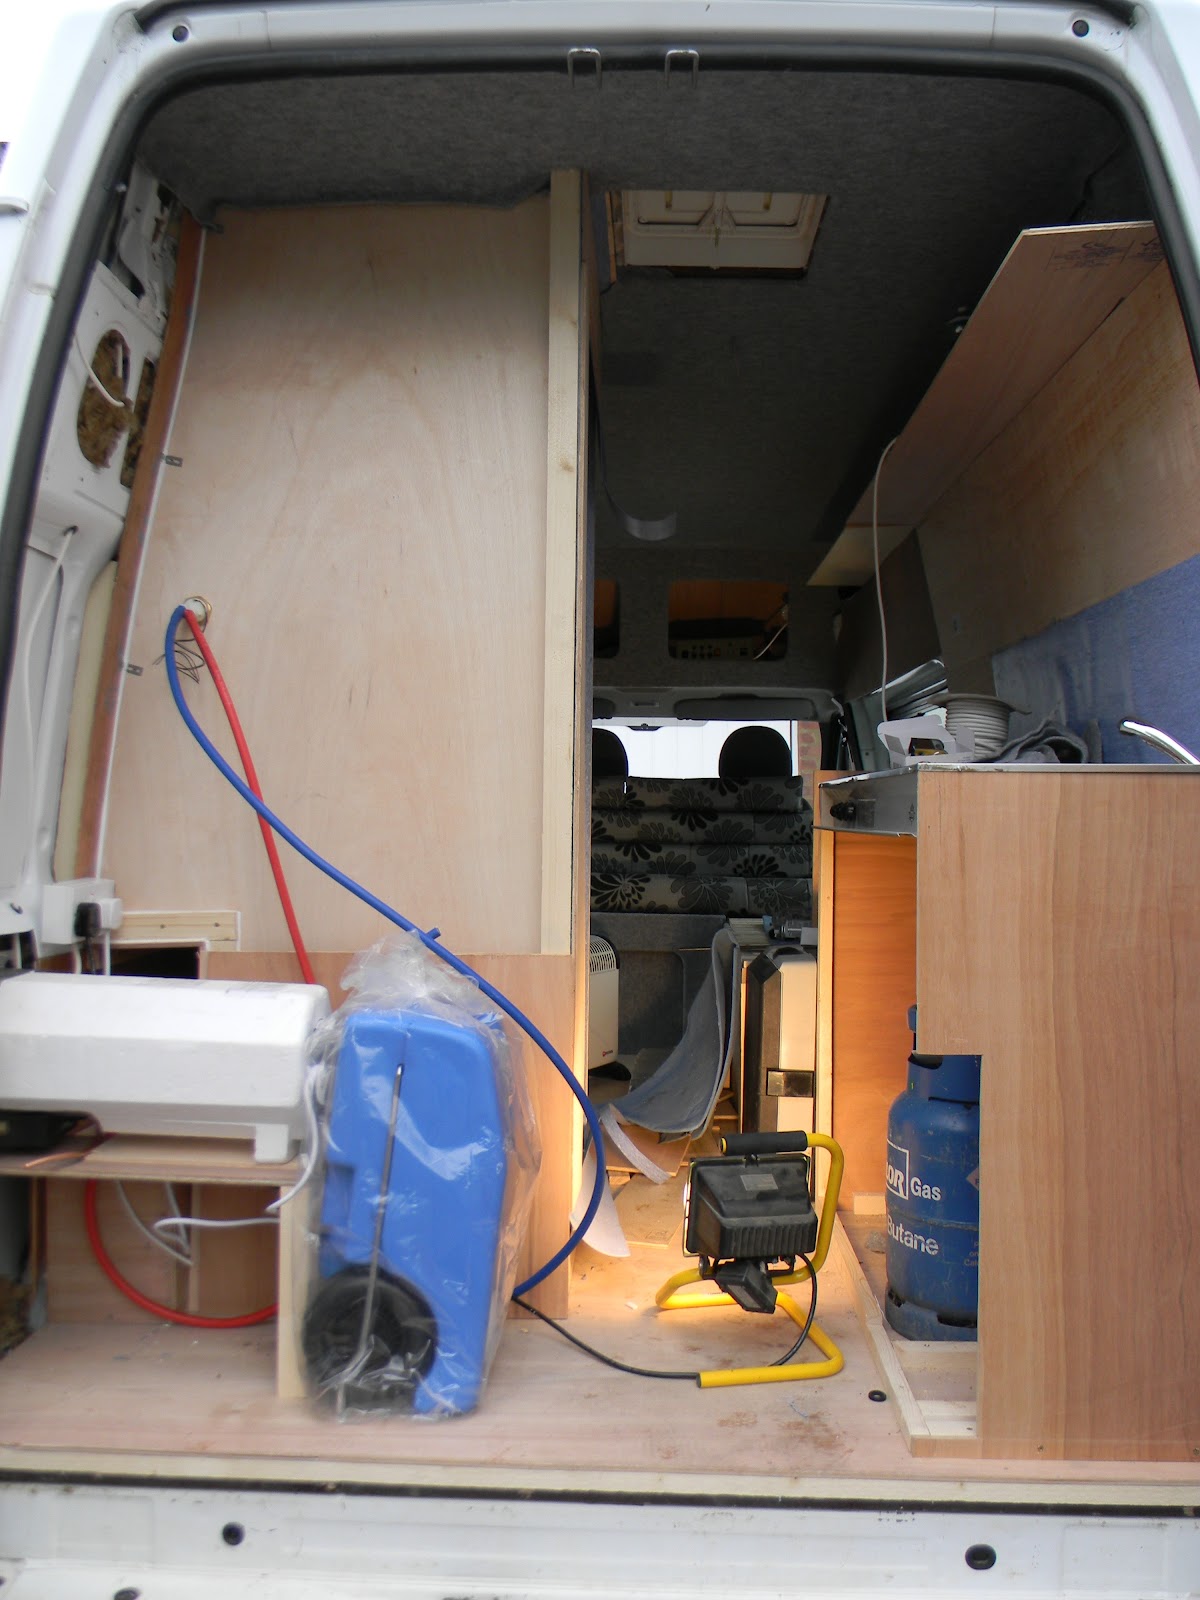
 how the rear of the van is currently looking

Saturday, 11 February 2012

freezin me jacobs off!

well the weather certainly is bloody cold at the moment, currently -9 so we have been putting an electric heater in the van 24 hours so its warm when we work in it but also overnight so all the glue and sealants have a chance to work and set properly.


last week dad fitted the henry ge water heater, i forgot to add pictures so here they are, he made a template marked it out then cut the hole with a jigsaw, had a discussion on the sbmcc forum about water heaters, i was going to get the malaga but it was £50 more expensive, so went for the henry on the plus side it is lighter and slightly smaller, this was fitted at the back of the van next to the shower, and managed to get it only for £309 including delivery.


Saturday was full on, last week my brother did his final exams at the end of his electricians apprentiship and is now a qualified electrician, so i managed to convince him to give up his saturday morning and install the mains hook up, consumer unit and sockets which he kindly did. it is still -9 degrees luckily plenty of tea and bacon sausage butties kept the troops going.

 wiring a socket in for the water heater
 the outside electric hookup, sits flush with the side of the van then pops out to plug in
 rear of the ehu inside the van, the wire comes in and goes into the consumer unit
 socket's installed by the seat/bed
we also finished the lino in the shower, i will get pictures added soon, we started to box in the water heater but decided to go get a water tank first to makesure we could fit it all in, i got a fiamma 40l but it was about half an inch to bit to slide in the gap, so i went back and got a 23l one which will slide in underneath the water heater. i decided on a seperate tank for the sink/cooker which is another 22l so in total we have 45 litres of water, with the weight evenly spread across the van.

Friday, 10 February 2012

cushion for the pushin!

My cushions arrived today! these ended up being a far bigger expense then i expected, but a good nights sleep is important and we will be sitting on them in the living area aswell so a decent foam and hard wearing upholstery was something we just needed to stretch the cash for. They came to a total of £325 including delivery from ebay. they were custom made to the measurements i sent, i did a lot of shopping around and this was the cheapest i could find

we also ordered some vinyl graphics from ebay, which were £25, they weren't as big as expected so we ended up cutting them and using part for the back and a small bit to go over the front wheel arches. With the current weather fitting them was a bit of a pain but their on now.


Tuesday, 31 January 2012

The golden shower

We moved the shower from out original plan from by the door, to over the wheel arch, the shower tray i bought was very small 585x585cms so moving the shower around the wheel arch meant a bit of extra elbow room, dad raised the profile of the wheel arch when he boxed it in making a shelf/seat, with storage underneath. he then cut out the floor so the tray would sit down, to give some extra headroom. he cut some thin ply to put in the bottom and will eventually fill the gaps with expanding foam

 earlier in the week dad cut two panels for the side walls and profiled them beautifully to fit the curve of the van, I managed to get a 20 metre roll of lino from ebay for £20 and collected it from five minutes up the road, convenient and cheap but not my first choice of colour but its growing on me, we cut the lino to fit the panels and then bonded it on with smart tack spray from tool station.

one panel was then put into place and leveled so we could use it as a guide to stick a sheet of pre cut lino to the van wall and down the wheel arch, now this lino turned out to be pretty tough so to get it to bend over the wheel arch we used a heat gun which softened it up so we could bend it and bonded it section by section, once it was in place we put strips of wood and clamps onto the curves to hold it.


the magic carpet

so i have been off work the last couple of days so with an extra pair of hands things have been going a little (very little) bit faster. while dad was busy making the shower panels and cutting the floor, i got on with carpeting the ceiling of the van and some of the panels, i got this from ebay a 2 metre by 10 meter roll of carpet and 8 cans or spray glue was £100, its like veltrim but the seller said its more flexable while sealing (he would say that as its not brand named veltrim) however it was pretty easy to work with and quite stretchy. I roped in my girlfriend in to help, first we did the panel above the drivers cab as it was a small section so we could get used to the material.
we chose grey/silver carpet because we wanted something light, and once it was put up it matches the trim of the van so a bit of a result, to get the carpet into the small cracks and spaces i used a thin chisel. the ceiling was a different kettle of fish, as we wanted it to be one piece with no joints we cut it to size then rolled the end up, dad came up with the genius idea of using three poles across the van to lay the carpet out on so we could stick it on in sections, this worked a treat, we didnt stick the very end as we are waiting for the shower cubicle to finish going in!


Sunday, 29 January 2012

you've been framed

lots of progress which has been visable this week, so i thought i would do an update for the week rather then daily ones. lots of goodies ordered in the internet and ebay turned up this week i am just waiting to order cushions which i will do on monday.
The ceiling is now fully insulated and boarded, just needs covering, the sink/cooker is now in place and the framework has been built, it will have a very small worktop next to it, and the 12v fridge i had from my chevy day van sits nicely underneath it, we will also be putting the gas bottles underneath here. once they have been boxed in we will need to cut a vent hole.

Also the space abouve the cab has been insulated and boarded, the shelf was carpeted with carpet origonally on the van roof, and it was boarded off with two cutouts left for doors.

Dad started work on the seat/bed concertina, this is a L shaped seat which will pull out into the bed,
however after some discussion i decided to go for a wider bed so we decided to wait till the cushions arrive before continuing.


and instead started on the shower, which has now been mocked up, it is next to the wheel arch to give some extra elbow room as the shower tray is only 585 by 585, i bought a 20 foot roll of lino from ebay which we will be using to waterproof the walls. There is also some storage above the wheel arch which we can access from both sides.


Dad has an impending sense of doom as we are leaving on the 21st february so are on a tight schedule, i have monday and tuesday off work so hopefully i can crack on with carpeting the ceiling and other panels!

Friday, 27 January 2012

plans

So we had rough sketchs and designs we have been working from for the layout of the van, however i have had to work out what size foam/cushions i needed to make the bed and seating area, this has turned out to be one of the biggest expenses of the van around £300 for the foam cut, upholstered and delivered, and this is quite cheap! believe me i shopped around.

so one of the main prioritys on the list when we started to plan the van was a decent sized bed, that was comfortable, as we will be spednign a lot of time in it, we have gone with a 6ft long 5ft wide bed, as a good nights sleep is pretty important here is the day layout for the van (not to scale) and a layout of all the cushions with sizes on!


Also the hole in the roof from the flashing light has been sanded and primed, just needs a lick of paint and we will seal the plastic plug into place!